Loading your new Cablecast CG Channels for use
How To: Download and Install a New Cablecast CG Channel
These steps are performed on the desktop of your host unit. The video below walks through how to find a pre-created Cablecast CG Channel, download it, and install it on your system.
Loading A Cablecast CG Channel Template
Learn how to download and install a Cablecast CG Channel using the Clone Tool, then activate it in your player settings.
Downloading Your Channel
Go to the Cablecast CG Channel Designs page to find the channel you want to download and install.
Download the file to your host unit's desktop. You'll install it from there in the next steps.
Installing Your Channel
On your host unit's desktop, locate the Cablecast CG Clone Tool.
Right-click the tool and choose Run as Administrator.
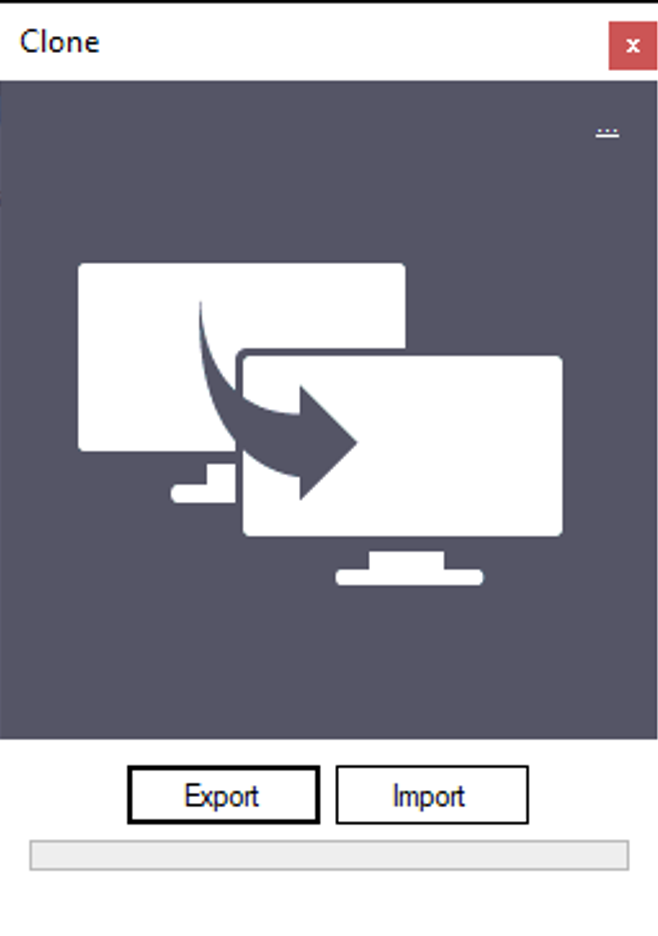
Once the tool has opened and loaded, select Import and navigate to the
.cslfile you downloaded.Select the Import button in the lower-right corner of the panel. This begins uploading the
.cslfile to your Cablecast CG.
Note: If you have more than one CG player and want each to display unique content using the same template, you'll need to repeat this import process for each player. Make sure each imported channel — and its zones — has a unique name. If you import using the same channel and zone names, Cablecast CG will link the zones to the existing channel rather than creating new ones, meaning both players will share the same content instead of displaying unique content.
Applying Your New Channel in Cablecast CG Settings
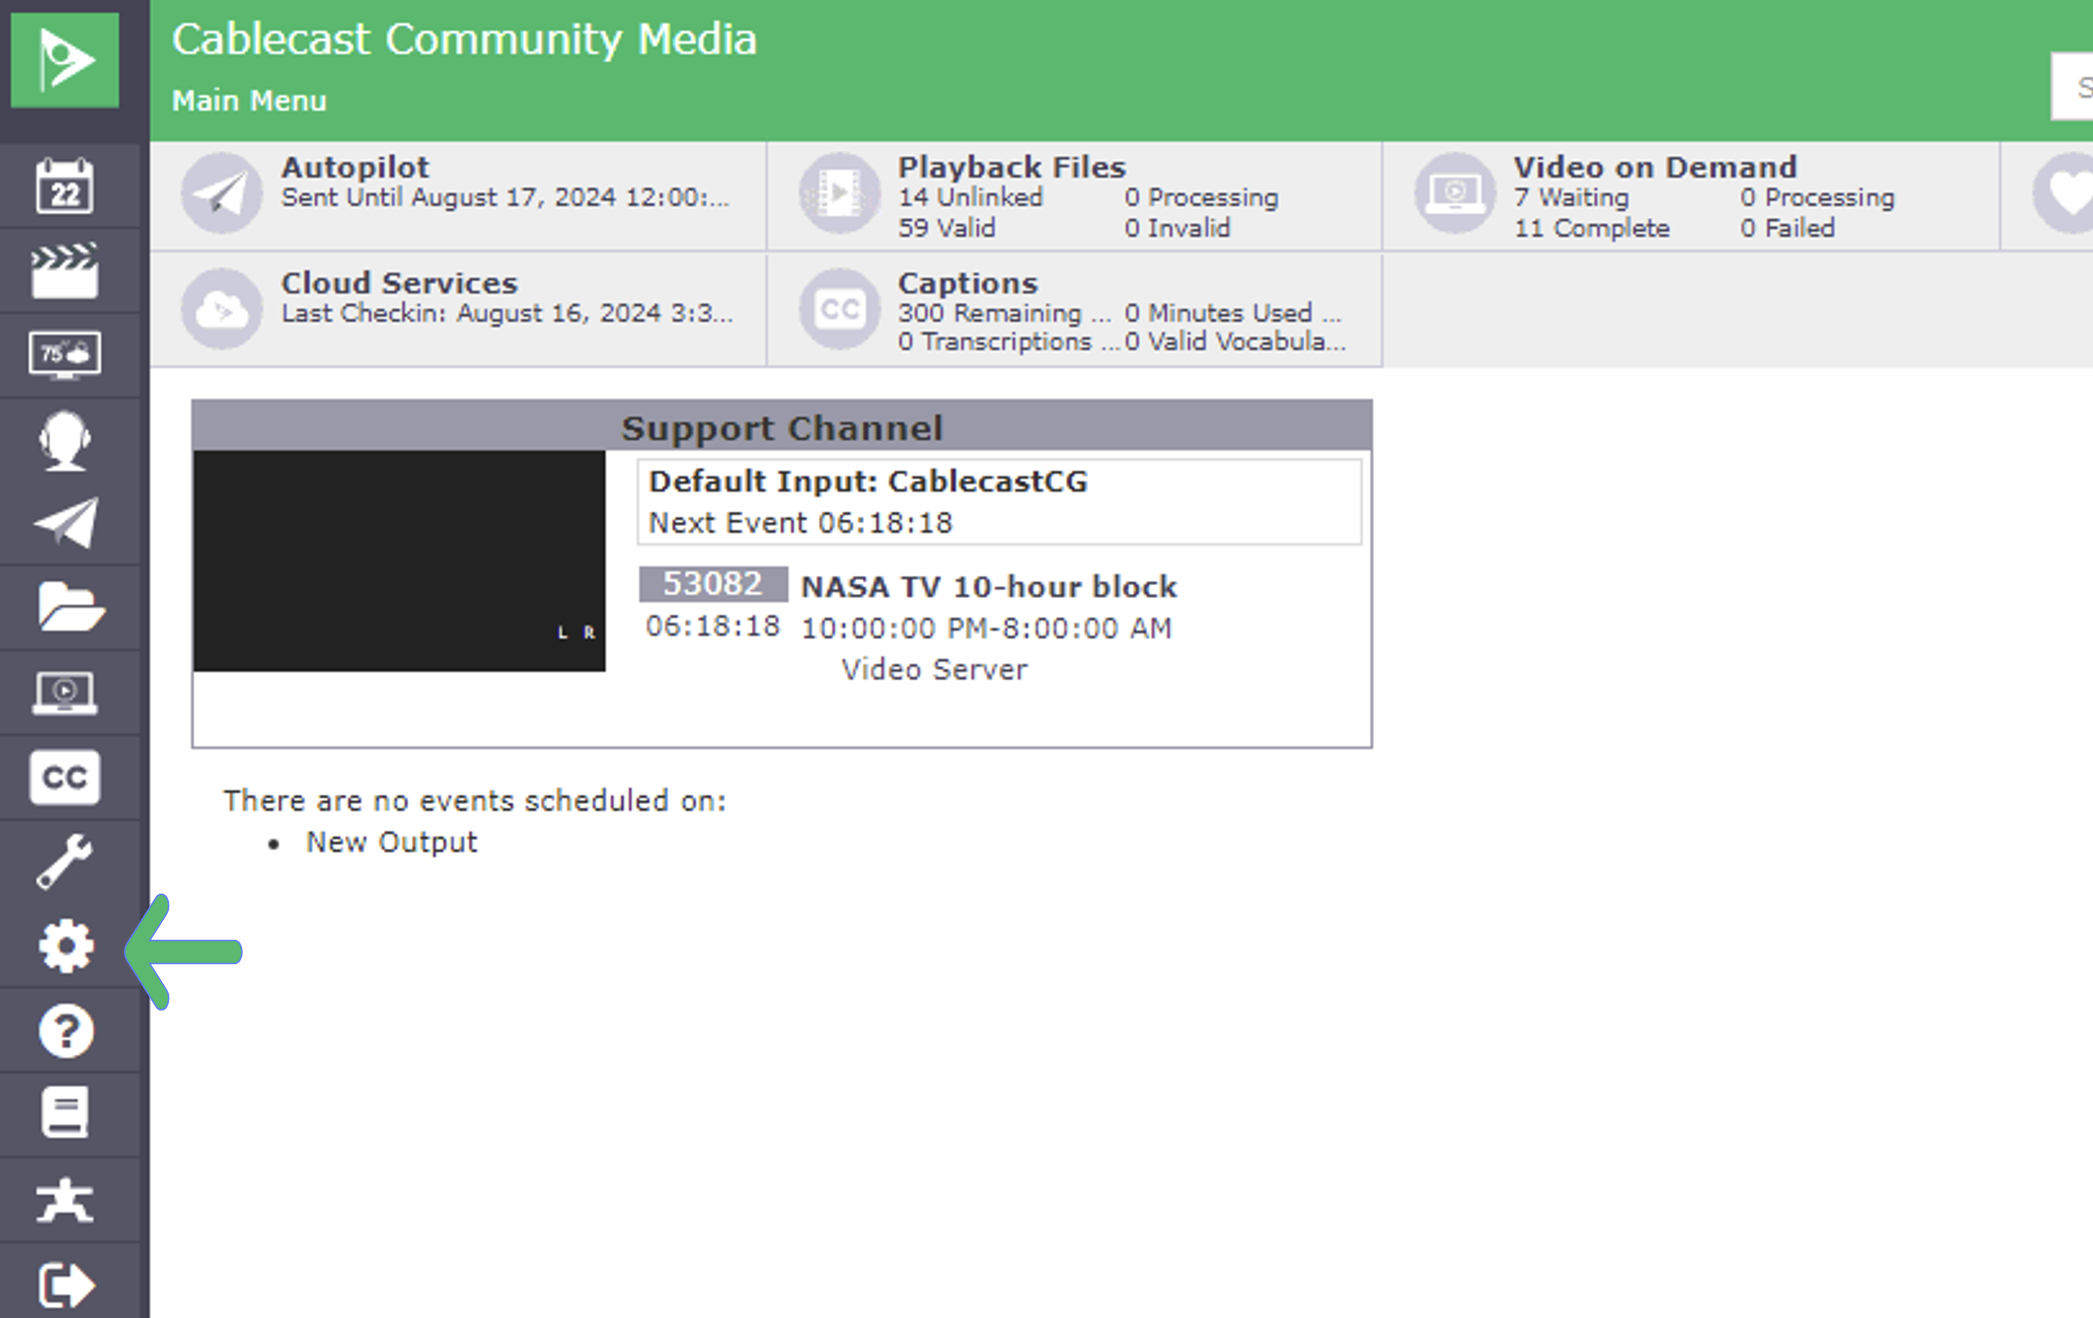
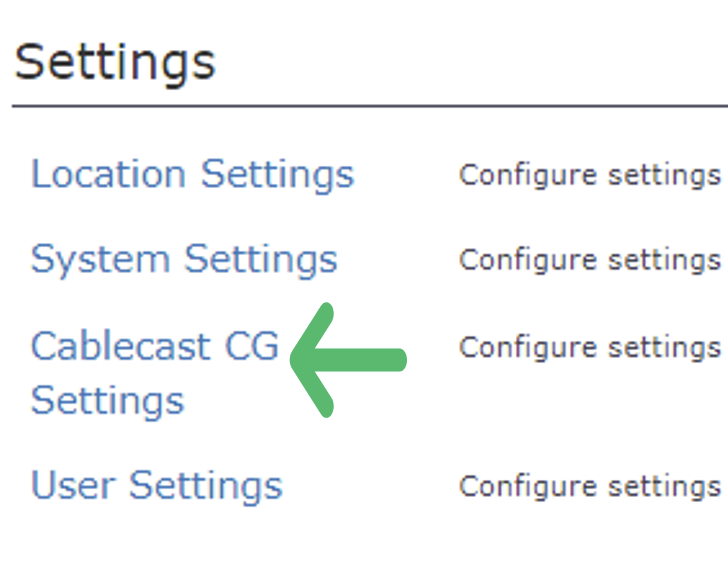
Go to Settings → Cablecast CG Settings → Players.
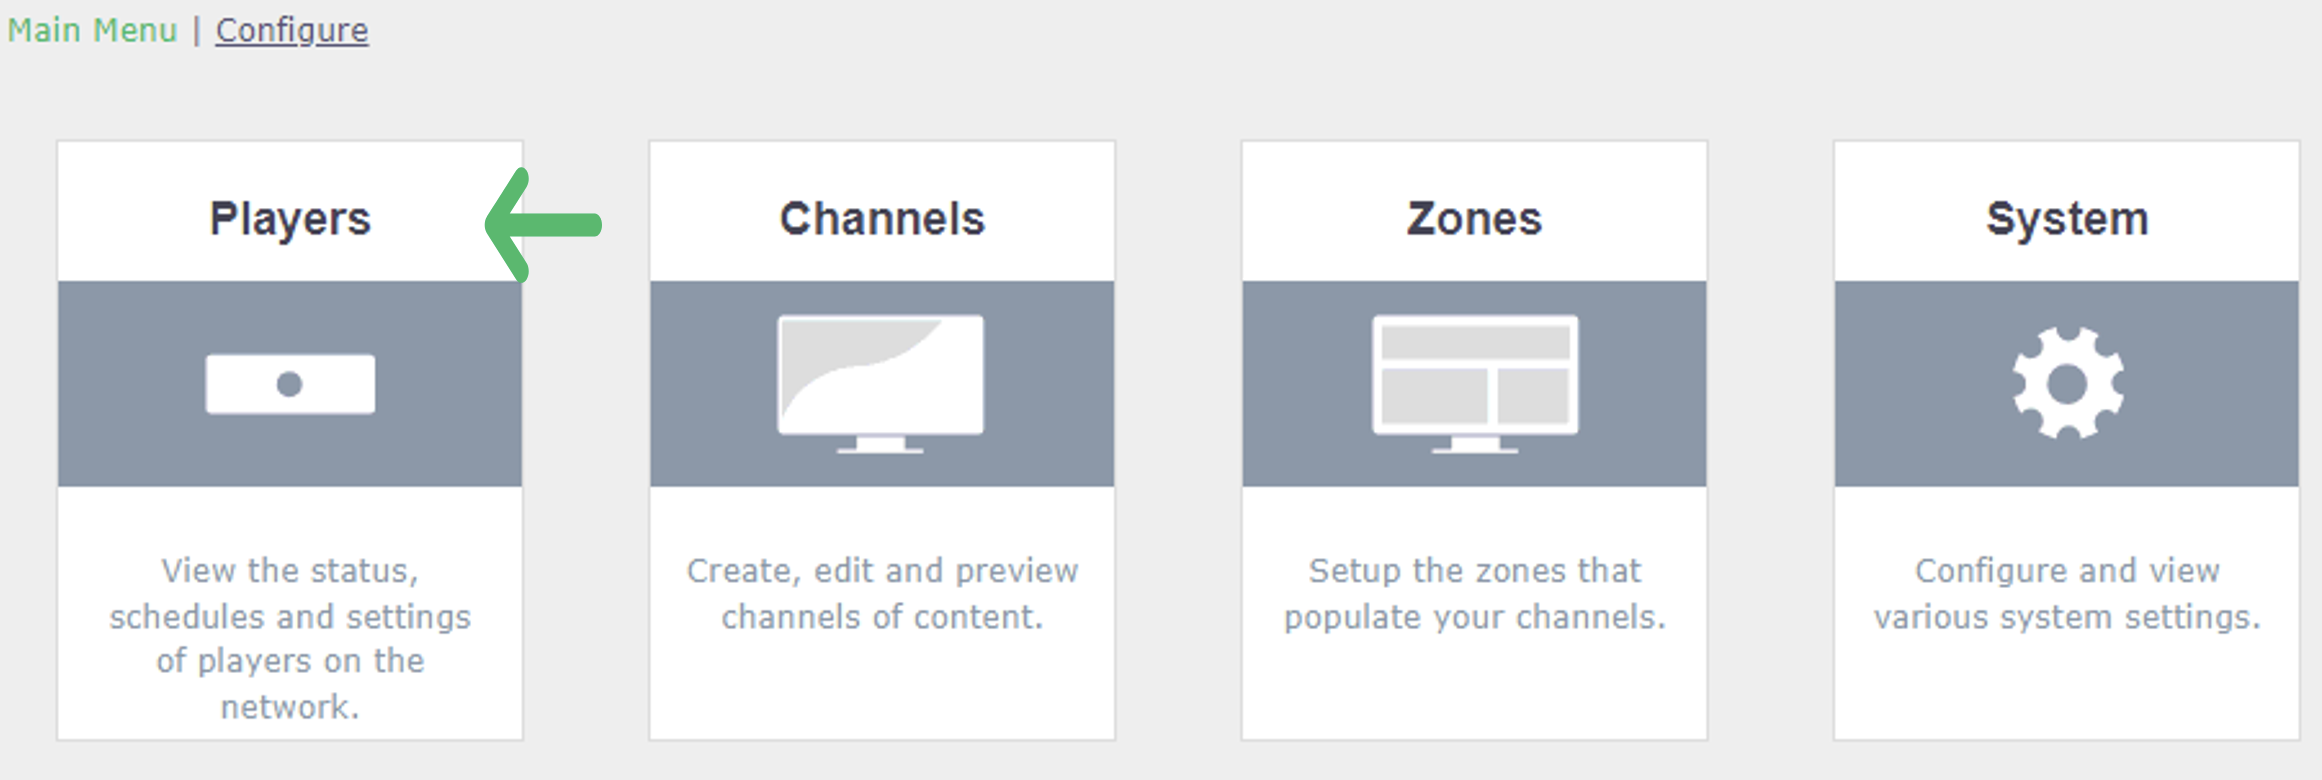
Select the pencil icon (Edit) next to the player you want to update.
Under Channel, select your new channel from the Default Channel dropdown.
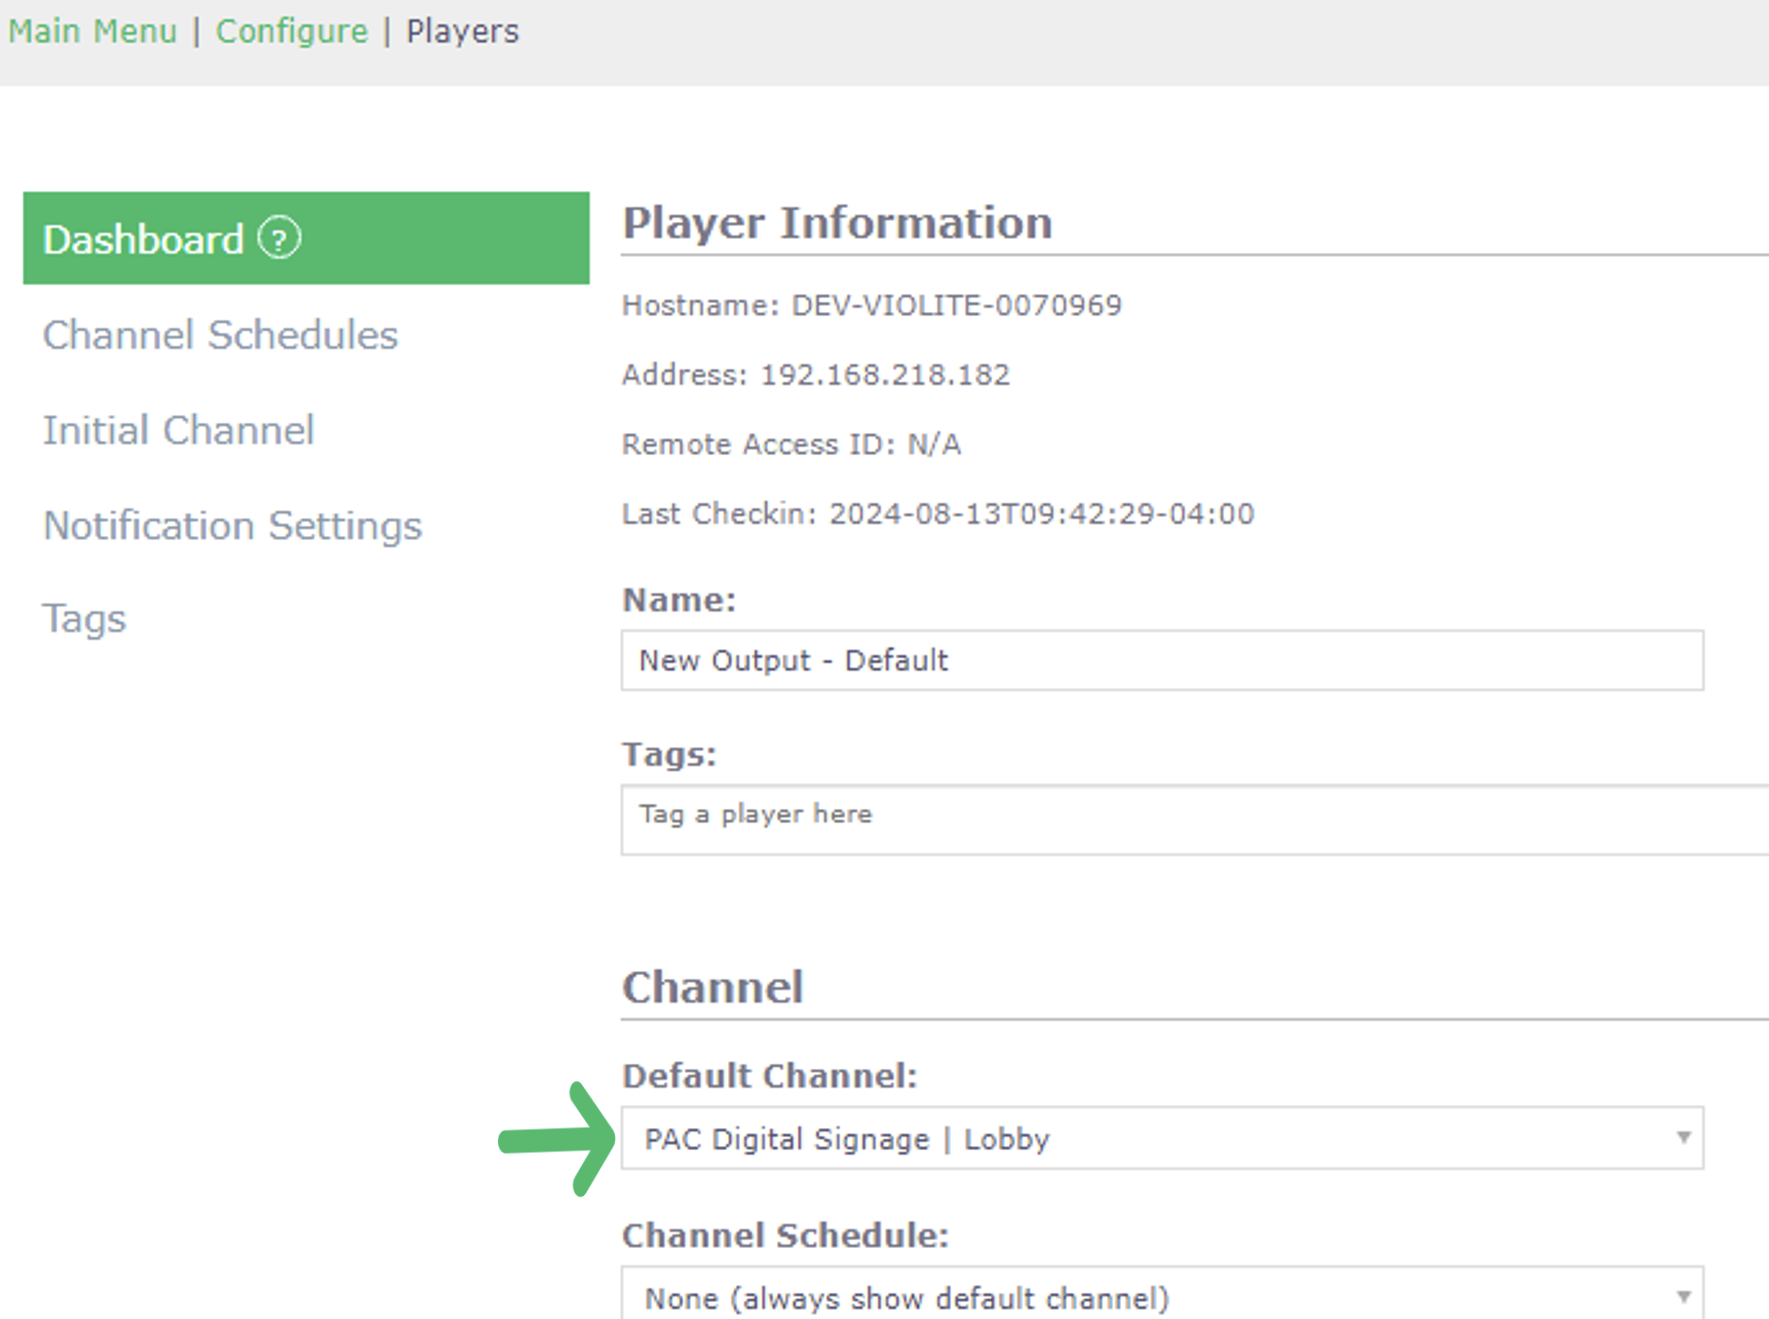
Select Save.
Once you've updated the player settings, you'll need to either wait for the currently scheduled program to end or restart the Cablecast Video Server engine. See this article for steps on restarting the server engine to activate the new channel on the server output.
